Knives & Caramel Apple Cinnamon Rolls

I had an entire 3-day weekend, mostly unscheduled, which looked promising for lots of fall baking.  First thing Saturday morning I got started on Caramel Apple Cinnamon Rolls because they needed lots of time to prepare.  After kneading the dough it had quite some time to rise, so I moved on to my next kitchen project: Butternut Squash.  This is where the story gets interesting.

I don’t really like squash of any kind.  But, trying to be a grown-up, I now take that as a challenge to find a way to prepare something that I don’t like and turn it into something I do.  So, last week when a friend offered me a slow-cooker butternut squash recipe that included butter, brown sugar, and raisins, I knew this may very well be that magical recipe. 

Considering the fact that until that time I didn’t like squash, it should come as no surprise to anyone that I had never purchased, much less prepared it.  Apparently the entire world except me  knows that butternut squash is very hard to cut. 

I have a dull knife (not worth getting into this, but I’ve known for some time that my big knife needs to be replaced and I truly intend to do it very soon).  Not so dull, however, that it doesn’t cut through something fleshy.  Not fleshy like squash, but fleshy like my finger.

Eek!  I saw the cut and immediately realized this was not a Band-Aid sized job.  Band-Aids tend not to reattach flaps of fingertip.  I ran (quite literally) to the hospital a few blocks away.   I called my mom from the waiting room.  It went something like this:

Me: Mom, I’m in the ER. 
Mom: Why?!
Me: I cut myself with a knife and my fingertip isn’t where it should be.
Mom: Didn’t you just take a knife skills class?
Me: No.  I signed up for one but didn’t take it yet.
Mom: You should probably do that.

Gee Mom, thanks.

When I came home, I still had all of my finger plus six very seasonal (Frankenstein-ish) stitches holding me all together.

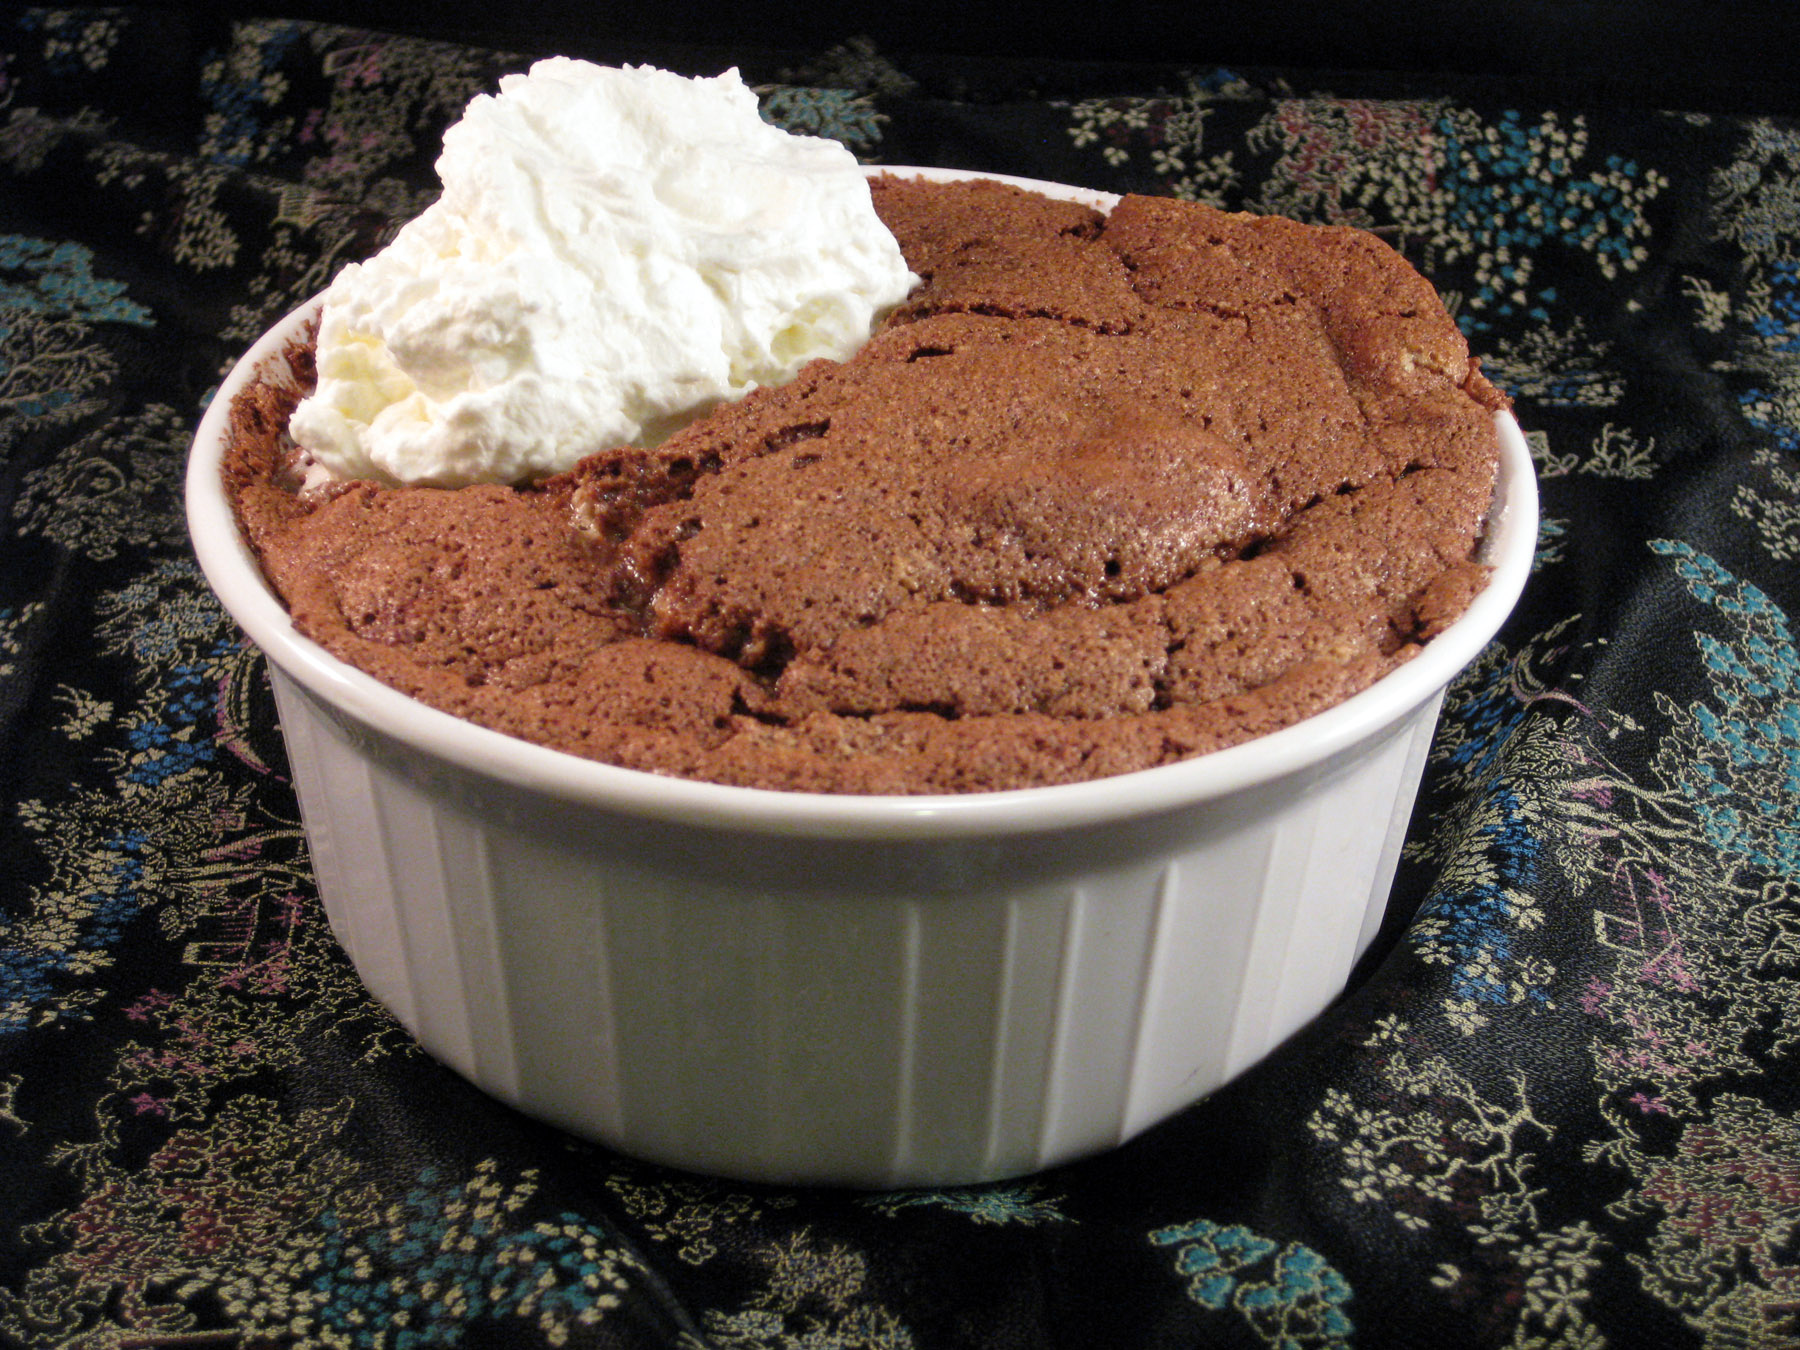
As would only be right, as soon as I got home the first thing I did was finish the butternut squash and cinnamon rolls, and both were very good.  Plus, I can now say I sometimes like squash.

Now here I sit, pecking at my keyboard with a crippled hand.  Surely this blog entry will take twice as long as the others to write, so I hope it gives you a laugh.

I wasn’t intending to publish the squash recipe (it’s rather informal anyway, a dash of this, a hunk of that).  But, I do want to tell you that another friend, after hearing of my mishap, tipped me off to a squash trick.  Zap it in the microwave for a few minutes to soften it up a bit.  This makes it much easier to cut through.  Take that tip and run with it…preferably not to your local Emergency Room.

Caramel Apple Cinnamon Rolls
source: Annie’s Eats
makes 8-12 large cinnamon rolls or 12-16 smaller ones

For the cinnamon rolls:
6½ T sugar
1 t salt
1 t ground cinnamon
Pinch ground nutmeg
5½ T unsalted butter, room temperature
1 large egg, slightly beaten
1 t lemon zest
3½ c bread flour
2 t instant (rapid rise) yeast
1 c plus 2-4 T buttermilk (or whole milk), room temperature

For the filling:
1½ T unsalted butter
3 Granny Smith apples, peeled, cored and cut into ¼-inch slices
¼ c sugar
½ t cornstarch
¼ t ground cinnamon
Pinch ground nutmeg
Pinch salt
1 t vanilla extract
3 T plus 1 t sugar
¾ t ground cinnamon

For the glaze:
4 oz. cream cheese
1 T unsalted butter
3 T caramel sauce (homemade or store-bought is fine)
1 T milk
½ t vanilla extract
1 c confectioners’ sugar

  • In the bowl of an electric mixer, cream together the sugar, salt, cinnamon, nutmeg and butter on medium-high speed until smooth.  Mix in the egg and lemon zest until incorporated.  
  • Mix in the flour, yeast and milk until a dough forms.  
  • Switch to the dough hook and knead on low speed, about 8 minutes until the dough is silky and supple, tacky but not sticky.  Or, knead by hand for 10 minutes.  (You may need to add a little extra flour or liquid to achieve this texture.)  
  • Lightly oil a large bowl and transfer the dough to the bowl, turning once to coat.  Cover with plastic wrap and let rise at room temperature for about 2 hours, or until doubled in size.
  • Meanwhile, make the filling.  To make the caramelized apples, melt the butter in a skillet over medium-high heat.  Add the apple slices, sugar, cornstarch, cinnamon, nutmeg and salt.  Mix until the apples are evenly coated.  Cook about 18 minutes, stirring occasionally.  
  • Remove from the heat and stir in the vanilla.  Set aside to cool.  In a small bowl, whisk together the sugar and cinnamon to blend; set aside.
  • When dough has risen, mist a work surface with spray oil.  Roll it out into a rectangle with a rolling pin, lightly dusting the dough with flour if needed to keep it from sticking (about 12 x 14 inches for larger rolls or 9 x 18 inches for smaller rolls).  Combine the sugar and cinnamon in a small bowl and sprinkle the cinnamon sugar mixture over the surface of the dough.  Evenly distribute the caramelized apples over the top of the dough.  
  • Starting with the wide edge, roll up the dough into a cigar-shaped log, creating a cinnamon sugar spiral as you roll.  Pinch the seam shut, and with the seam side down, slice the log into your desired number of rolls.  Transfer them to a baking sheet lined with parchment paper or a silicone baking mat, placing the rolls about 1 inch apart.
  • Cover loosely with plastic wrap and let rise at room temperature 75-90 minutes, until the rolls have grown into each other and have nearly doubled in size.  (At this point, the rolls can also be covered and refrigerated for up to 2 days.  Pull the pan out of the refrigerator 3-4 hours before baking to let the dough proof.)
  • Preheat the oven to 350 F.  Bake for 20-30 minutes, or until golden brown.  Let cool in the baking about 10 minutes, then transfer to a wire rack.
  • To make the glaze, combine the cream cheese and butter in a small heatproof bowl and microwave in 15-20 second intervals until it is warm enough to whisk together.  Whisk in the caramel sauce, milk and vanilla extract until smooth.  Whisk in the confectioners’ sugar until smooth.  
  • Swirl the glaze over the top of the cinnamon rolls.  Let cool briefly, best served warm and fresh out of the oven! 

Posted in Baking Jumbles | Tagged , , , , , | 3 Comments

New email subscription service for Sweet Jumbles

Hello friends, readers, and bakers!

Today I added a “subscribe via email” link to my blog.  Yeah, there was one there before but the new one is, well, new and improved.  You can keep the old one if you wish, though it’s lifespan might be short.  I’d recommend deactivating that one (unsubscribe) and subscribe to the new one.  You can better control when you get what and it should work well for everyone.   The link can be found in the right-hand column of the blog page.

Hopefully this type of thing won’t have to happen again, but thanks for bearing with me and the Sweet Jumbles growing pains.

Also, new posts will have a “share” button at the bottom of the post.  This will enable you to easily print, email, or repost the blog entry on facebook, as well as a number of other sites. 

Thanks for reading my blog!

Posted in Uncategorized | Leave a comment

Caramelized Apple Tarte Tatin a la Mode

Last weekend I visited my good friends Amy, Nate, and baby Luke in the Chicago area.  We had a great time enjoying our time together in the unseasonably warm weather and fall colors.  We visited a Wisconsin orchard (Brightonwoods Orchard and AEppelTreow) where we stocked up on apples, cheese, and cider.  In order to “earn my keep” at their home, Amy and I made applesauce and a Tarte Tatin.  The tart was a new endeavor for both of us, but it was a surprisingly easy treat.

I suggest you keep an eye on the apples as they caramelize, because mine took significantly longer than the recipe suggested.  Don’t worry if you over-caramelize the apples anyway, then you just have burnt-caramel flavor, which is a real flavor unlike “burnt toast”.   You must, must, must eat this with vanilla ice cream.  You can even use some of the leftover caramel from the skillet to drizzle over your ice cream.  In my opinion, this is one of those things that tastes even better the next day, so eat up and save some for tomorrow!

Caramelized Apple Tarte Tatin a la Mode
source: Joy the Baker 

1 sheet all-butter puff pastry, thawed but still cold
6-7 apples (I used Fuji)
1/2 c unsalted butter
1 c sugar

  • Preheat oven to 375 degrees F.  
  • Peel, core, and quarter the apples.  Do not slice thinner, because they will shrink as they cook.  If the apples brown just a bit while they’re waiting to be baked that’s fine.
  • Melt butter in a 10-inch cast iron skillet.  Remove skillet from the heat and whisk in the sugar to thicken, and spread evenly over the bottom of the skillet.
  • Arrange the apple quarters in the pan by stacking the pieces in a tight circle along the outside of the pan and working your way in.  Save any extra apple quarters to add to the tart as it cooks on the stove and more room frees up.
  • Return the pan to the stove and cook over medium high heat for 10 minutes or until sugar becomes a golden, gooey caramel.  Be sure to keep the flame at medium high, letting the sugar boil and caramelize.  Add any extra apple quarters as room becomes available.
  •  While apples are cooking, remove and unfold puff pastry.  On a lightly floured surface, gently roll out puff pastry, extending it about 1/2 to 1-inch on all sides.  Find a dinner plate about the size of the 10-inch cast iron skillet to measure the pastry and cut out a circle about 1/2-inch bigger than the plate.  Place the puff pastry in the fridge until the apples are done cooking.
  • Once the caramel color has arrived, cook for an additional 5 minutes (by this point, the apples have been on the stove about 15-18 minutes, give or take) and remove the pan from heat.  
  • Carefully place the puff pastry over the hot apples, tucking into the edges of the skillet. Pastry doesn’t need to look perfect.  Place the skillet in the oven and bake for 20-30 minutes, until the pastry is puffed and golden.
  • Remove from the oven and allow to cool for 30 minutes.

  • Run a knife along the edges of the skillet to loosen puff pastry edges.  Place a large plate on top of the cast iron and, using two giant pot holders, invert the plate and pan.  Lift the cast iron and you should have a gorgeous tarte tatin.  If any apple slices stuck to the cast iron, just remove them with a fork and place them right back in the tart.
  • This tart is best served warm with ice cream.
Posted in Baking Jumbles | Tagged , , , , | 4 Comments

Jacques Torres’ Chocolate Soufflé

This past weekend I passed by (aka: went in) a Jacques Torres Chocolate store as I was running errands around town.  While lounging around the store eating a naughty ice cream sandwich, I thumbed through his A Year in Chocolate book of recipes.  Ooooh, Chocolate Soufflé.  That would be a new attempt…. 

So last night I decided to give it a try.  As I occasionally do when I have more than one recipe for the same thing, I bake both and have a taste test so that one can be reused in the future and the other will get a big giant “X” in the cookbook so I know never to bother with it again.  Well, I should have known better.  Recipe #2 was from a cookbook for a chocolate company which I have wholeheartedly spoken out against.  In fact, they were in the news again this week (it’s Fair Trade Month!).  I maintain my position, but figured “hmmmm, I could use their recipe so long as I don’t use their product”.

Wrong!  I thought I followed the recipe rather well, but it was a bust.  In fact, had I been thinking I should have taken a picture of the end product (not only did it not rise, I think it shrank in the oven…) and added it to a FAIL Blog.  Needless to say, the recipe which I am not posting here now has a big black “X” in the cookbook and has been officially banished along with the brand.  The Jacques Torres recipe was, fortunately, much more successful and yummy. 

Disclaimer #1: I must admit (and the pictures below don’t lie) that the soufflé sank pretty quickly after I removed it from the oven.  I don’t know if I jostled it too much or what.  However, apparently just a small adjustment (according to this website maybe I should have cooked it a bit longer or at a higher temperature) will do the trick.  In other words, if you’re looking to experiment with making a soufflé, this is a great option.   Mine wasn’t perfect but it was well on the way.

Disclaimer #2: This is really chocolate-y.  When someone asks me if I like chocolate I shrug my shoulders and say “yeah”.  That’s actually not enough love.  For this soufflé you need to tingle and say “oooooh yeah” when someone asks you that question.  Though I enjoyed it, it was too much chocolate for me but would be perfect for a choc-o-holic. 

The recipe below serves 4-6.  I halved the recipe and instead of a 1 1/2 quart casserole/soufflé dish I used a 500 ml ramekin.  All ingredients were halved, I did not adjust time or temp.  

 Chocolate Soufflé
by Jacques Torres

1 T softened butter
3/4 c sugar
8 large eggs white, room temperature (approx. 1 c)
3 1/2 oz bittersweet chocolate, melted (I used Green & Black’s 72%)
2 T confectioners sugar (optional)
whipped cream (optional)

  • Preheat oven to 375 degrees.
  • Lightly coat inside of a 1 1/2 qt casserole dish with butter and dust with 1/4 c sugar so entire interior is generously coated. 
  • Combine egg whites with remaining 1/2 c sugar, whisking to combine.
  • Move egg white and sugar combination to a double boiler and beat with a wire whisk for about 3 minutes or until quite warm.
  • Remove from heat and beat with mixer until frothy.  Increase the speed to medium high and beat until stiff (but not dry) peaks form.
  • Fold melted chocolate into meringue, taking care not to over mix but incorporate well.
  • Carefully place soufflé into the prepared dish, filling it to about one inch from the top. 
  • Place in the middle of the oven so there is room to rise without hitting the top of the oven.  Bake for 20 minutes or until the soufflé has risen to about one and one half times its height and top is lightly colored.
  • Remove from oven and dust with confectioners sugar or serve with whipped cream.

Posted in Baking Jumbles | Tagged , , | 2 Comments

Chocolate Covered Caramel Pretzels

Today’s post is the first in the “Slutty Jumbles” category!  Hooray!  I suppose before I go any further I should explain myself, lest you think terrible thoughts about me.  Credit where credit is due, I didn’t come up with the idea of calling food slutty.  I got it from my friend Lisa, and it’s progeny beyond that, I have no idea.  If you think about it, it’s fairly self-descriptive.  Any food that is easy, naughty, and delicious is a slutty food.  The perfect example of slutty food are those cinnamon rolls that come in a tube that you whack on the counter.  Those, my friends, are SluttyCinnaRolls.  I’d say you need about 3 (or fewer) ingredients and a minimum amount of time, effort, and skill for a food to qualify as slutty.  You might not want to tell your children they’re eating slutty food, just as I don’t tell Grandmom that her Monkey Bread is slutty.  Just a little secret between us Sweet Jumbles folks, ok?

You’ll have to bear with me, because I didn’t actually measure anything for this recipe.  My Aunt made these last Christmas and I loved them, and the time finally came for me to make a batch myself. 


Chocolate Covered Caramel Pretzels

1 bag of chocolate chips, or your favorite chocolate chopped up
1 bag of caramel cubes
1 bag of traditional shaped pretzels (medium ones, not the huge sourdough and not the little thin ones)
splash of milk
pat of butter

  • Line baking sheet with waxed paper and spray it with non-stick cooking spray (do not skip this step!), arrange pretzels in a single layer with a little space between each.
  • Melt caramel and about 2 teaspoons of water in a saucepan on medium-low heat, stirring regularly being careful not to let it burn.
  • Pour caramel into the pretzel holes (using a big glass measuring cup works great) and then refrigerate until firm or overnight.
  • Melt chocolate, along with a pat of butter, in a double boiler or in the microwave, stirring often until it is silky.  If it’s not thin enough add a splash of milk. 
  • Dip each pretzel in the chocolate and return to the greased, lined cookie sheet and again put in the fridge until hard.

Tips:

  • Don’t leave the pretzels out of the fridge for too long.  You might want to dip them in chocolate in batches, otherwise the caramel starts to soften, making the job more difficult and messy.
  • I recommend having a slightly thinner chocolate and dipping twice.  Mine was thick and while it still tasted amazing, the shape of the pretzel was hardly distinguishable underneath.  

pre-chocolate image:

Posted in Baking Jumbles, Slutty Jumbles | Tagged , , | Leave a comment

Gooey Buttermilk Chocolate Cookies

I suppose I should apologize for the lapse since my last blog post.  Unfortunately, I was trapped on a secluded island in the Bahamas.  It was really awful: warm sunny days, clear water, white sand, and not a single other person in sight.  I would have much rather been at home sitting at a desk blogging.  Ok, maybe not.   To give you a sense of what I’m talking about, here are two pictures:


Prior to departure, I decided to bake some cookies to take along to fend off starvation during our flight.  Do you know that Spirit Air doesn’t even give you complimentary soda?  I mean, come on!  They also make you pay $45 to have a carry on.  So I outsmarted them and squeezed everything I needed (because really, what do you need besides a little bathing suit and a cover up?) into a school backpack and fit it under the seat in front of me…the seat, I should mention, didn’t even recline.  What airline doesn’t have reclining seats?  I’ll tell you who – Spirit!  I’m not giving them $45 just so I can have a carry on, no way!  Especially if they won’t give me a can of Coke and a seat that reclines!  Anyway, it was a good thing I had baked these cookies because they are about all that kept us sane during our non-reclining, no-movie, no-soda flight to Florida.

These cookies are quite delicious, and I’m not even a chocoholic.  This is all done by hand – no mixer.  They are gooey.  Perfect right out of the oven and darn good for about 3 days after (then the gooey is no more).  Gooey goodness on the white sand beaches with nobody in sight.  Aaaaah.  I’m sure they’ll be good back home too, but I do recommend eating them on a secluded island for optimum enjoyment.


Gooey Buttermilk Chocolate Cookies
source: Baking Bites

2 c all-purpose flour
1/2 t baking soda
1/2 t salt (or sea salt)
1/2 c butter
3/4 c cocoa powder (I recommend Dagoba)
2 c sugar
1 t vanilla extract
2/3 c buttermilk
2 c chocolate chips

  • Preheat oven to 350
  • sift together flour, baking soda and salt
  • melt butter in microwave
  • in a large bowl, combine warm melted butter with cocoa powder and whisk until smooth.  Add sugar, vanilla extract, and buttermilk.  Gradually stir in flour mixture, whisking until well combined.
  • stir in chocolate chips
  • drop dough in 1-inch balls on baking sheet, bake for 10-12 minutes.  Cool for 10 minutes before transferring to wire rack.  Eat!

Posted in Baking Jumbles | Tagged , , | 2 Comments

Buttermilk Cookies

I discovered these cookies as a great not-necessarily-sweet treat.  The buttermilk cookie itself is quite soft and puffs up nicely.  The recipe below includes a sweet powdered sugar frosting plus chopped nuts, but both are optional.  If you omit the frosting, this would be an especially nice cookie for afternoon tea.  You know, for all of you who have tea time.  (???)

Buttermilk Cookies

1/2 c butter, softened
1 c sugar
1 egg
1 t vanilla extract
2 1/2 c all-purpose flour
1/2 t baking soda
1/2 t salt
1/2 c buttermilk
1 t lemon zest (optional)

  • In a mixing bowl, cream butter and sugar until light and fluffy.  Beat in egg and vanilla.
  • Combine flour, baking soda, and salt.  Add dry mixture to the creamed mixture alternately with buttermilk.  Mix well.
  • Fold in lemon zest, if desired
  • Drop by rounded spoonfulls, 2 inches apart, onto greased baking sheets.  Bake at 375 degrees for 10-12 minutes.
  • Place on wire racks to cool

Frosting:
3 T butter, softened
3 1/2 c powdered sugar
1/4 c milk
1 t vanilla extract
1/2 c finely chopped walnuts or pecans (optional)

  • Combine butter, powdered sugar, milk and vanilla and beat until smooth.  Frost cooled cookies and sprinkle with chopped nuts if desired.


Posted in Baking Jumbles | Tagged , , | Leave a comment

Labor Day Weekend Pig Out

I do believe this is my first post subcategorized as Urban Jumbles!  (Get it, Urban Jumbles.  Urban Jungle.  Sweet Jumbles.  Aaah I digress…)  Anyway, Urban Jumbles are posts that aren’t recipes but musings on the city life, spectacles, eats, and whatever else suits my fancy.  

What did you do for Labor Day Weekend?  I ate.  Ok, actually I did a lot more than eat, not the least of which was hit the beach, celebrate the birthday of a friend, and run. (Yeah, like, not from an attacker, but an intentional run.  Pause to cheer, please.)  I went to two markets, one of which was Eataly, a new gourmet food spot owned by (among others) Mario Batali.  More on that in a future post. 

This post is for the yummies, and I’ve got two of them for you.  

Yummy #1: rice pudding.  I do love me some rice pudding.  It’s not difficult to prepare and I can make it myself, but sometimes it’s just nice to splurge and have someone do it for you.  I know, you’re not too excited…yet.  You might be excited when I explain to you that I went to Rice to Riches, a Rice Pudding parlor.  Baskin Robbins has met his match.  This place has at least 20 flavors of rice pudding.  I got the traditional cinnamon and raisin, and I got pineapple.  Don’t judge it until you try it.  It’s yum.  

Here’s a picture I pulled from their website because I was too overwhelmed with excitement once I got there to actually take a photo inside the place. 


There is also a lovely greeting on the front door that will make you feel right at home (I actually took this one myself):


Yummy #2: ice cream sandwich.  Let me be clear, I’m not talking about the kind you buy in a box at the grocery and then peel the paper off to find a chocolate soft cookie thing.  Not that I would turn that down, as a matter of fact I’d inhale it.  But that’s not what this is all about.  I’m talking donut.  Donut + ice cream + toppings = loooove.  This is all part of the heavenly treat sold at Holey Cream.


Let me make sure you understand.  You go in and get a fresh plain donut warm out of the oven.  They cut it in half.  Then you tell them if you want vanilla or chocolate glaze.  It’s warm and gooey and then hardens to a sticky mess.  Meanwhile, you pick a topping, with every flavor you would have to choose from for a sundae.  Jimmies, M&Ms, cookie crumbles, butterscotch chips, and many more.  Then you pick an ice cream flavor (hard or soft serve, but I mean, c’mon , you gotta get hard) and they put a huge amount in the donut sandwich and smack on the top of the donut.  I will pause so you can mop up the drool that has landed on your keyboard. 

 
Ok so I got mint chocolate chip ice cream, chocolate glaze, and Oreo cookie crumbles on top.  Once you finish the whole thing there is a slight sensation of nausea because it was so big, but it is SOOOO worth it.  😉 

So those are my naughty Labor Day Weekend treats.  Next time you’re in NYC, check them out!

Posted in Urban Jumbles | Tagged , , , | 6 Comments

Mahdzoon Bread (Armenian Yogurt Bread)

I am not much of a yogurt fan.  I don’t eat it straight up, not with berries, and even the new trendy Greek Yogurt doesn’t particularly appeal to me.  I do, however, like it as an ingredient in other dishes.  It just so happens that I had a big ol’ vat of plain yogurt in my fridge that was going to go bad if I didn’t use it soon, so I did a web search for a new and interesting recipe that would utilize this yogurt and wouldn’t require me to go to the store for anything else.  (er….that’s why mine doesn’t have sesame seeds.)

I stumbled upon this recipe for “Mahdzoon Bread” from Armenia.  It’s so “new and interesting” that, in fact, I could only find one single vague recipe for it.  In other words, when I couldn’t quite figure out what the instructions were asking me to do, I had no other source to go to for clarity.  As such, the following recipe has been adapted by yours truly.  In the end, I discovered that my individual portions were far too big – not only did I misjudge size, but the twists grew more than I expected in the oven.  But, the intent is that each person will get their own twist, just as each person would get their own dinner roll. 

Speaking of dinner rolls these would serve as a perfectly good substitution.  They aren’t as light and flaky, but the flavor is neutral enough that they will compliment almost any dish.

Mahdzoon Bread (Armenian Yogurt Bread)

1/2 c warm water
2  packets of dry active yeast (1/4 oz each)
1 c mahdzoon (plain yogurt), room temperature
1/2 c sugar
1 t salt
1 c melted butter, cooled
1 t baking powder
1 t baking soda
3+ c flour
1 egg
1/2 c sesame seeds (optional)

  • dissolve yeast, sugar, and salt in warm water, then add the mahdzoon and mix well
  • Beat melted butter, baking soda, and baking powder together and add to the mahdzoon mixture
  • Stir in flour, starting with 3 c and add more as needed to create a doughy consistency (I needed 5 c), kneading for 5 minutes
  • cover and let rest for 10 minutes
  • make a small ball and roll into a rope approximately 6 inches long and 3/4 inch diameter, braid or twist into a single serving size and pinch ends to close.  Repeat until all dough is used.
  • Place on a lightly greased cookie sheet, let rise for 15 minutes, and brush with egg wash of 1 egg and 1/3 cup water
  • sprinkle with sesame seeds (optional), and bake for 15-20 minutes in a 350 degree oven

Posted in Baking Jumbles, Bread Jumbles | Tagged , | Leave a comment

Red Velvet Cupcakes

Red Velvet Cake has been one of my favorites for a few years now, but I had never made it myself.  Because I had some excess cream cheese on hand, but more so because it was my coworker’s birthday and he had rather indiscreetly mentioned “hey baker girl, you know I love Red Velvet…” (*wink* *hint*) I decided to give it a whirl.  I was debating between two recipes – one calling for buttermilk and the other for sour cream.  I settled on the buttermilk version for no good reason, but sometime I’m going to bake two batches and have a real taste-test to decide which one is best.

I should remind you that an apron or old clothes are recommended for this recipe, as red food coloring, as a rule, finds its way everywhere.  Oddly, it washed right out of my shirt which I really didn’t think food coloring did, but hey, cool.

This recipe, particularly the icing, was a real hit with the entire office and particularly with the birthday boy, so two thumbs up and bake away!

Red Velvet Cupcakes
makes 12
adapted from: Pinch My Salt


2 1/2 cups sifted cake flour*
1 t baking powder
1 t salt
2 T cocoa powder (unsweetened)
1 ½ – 2 oz. red food coloring
1/2 c unsalted butter, room temperature
1 1/2 c sugar
2 eggs, room temperature
1 t vanilla extract
1 c buttermilk, room temperature
1 t white vinegar
1 t baking soda

  • Preheat oven to 350 degrees. Butter and flour two 9-inch round cake pans or three 8-inch round cake pans, or line cupcake trays.
  • Sift together the cake flour, baking powder, and salt into a medium bowl; set aside.  In a small bowl, mix food coloring and cocoa powder to form a thin paste without lumps; set aside.
  • In a large bowl, using a hand mixer or stand mixer, beat butter and sugar together until light and fluffy, about three minutes.  Beat in eggs, one at a time, then beat in vanilla and the red cocoa paste, scraping down the bowl with a spatula as you go.  Alternately add the flour mixture and the buttermilk to the butter mixture, beginning and ending with flour.
  • In a small bowl, mix vinegar and baking soda.  Yes, it will fizz!  Add it to the cake batter and stir well to combine.  Working quickly, divide batter evenly between the cake pans or cupcake trays and place them in a 350 degree oven. Bake for 18-20 minutes for cupcakes (25-30 minutes for cake). Cake is done when a toothpick inserted in the center comes out clean.
  • Cool in pans on a wire rack for 10 minutes. Remove and allow to cool completely before frosting.

Recipe Notes: *Sift cake flour once before measuring, then sift again with the other dry ingredients per recipe instructions.

Cream Cheese Frosting

16 oz. cream cheese (2 packages), softened
1/2 c unsalted butter (one stick), softened
1 t vanilla extract
2 1/2 c powdered sugar, sifted
pinch of salt

  • With an electric mixer, blend together cream cheese and butter until smooth.  Turn mixer to low speed and blend in powdered sugar, salt and vanilla extract.  Turn mixer on high and beat until light and fluffy. Use immediately or refrigerate, covered, until ready to use.  If refrigerated, the frosting will need to be brought to room temperature before using (after frosting softens up, beat with mixer until smooth).
Posted in Baking Jumbles | Tagged , , , , | 1 Comment