This past week I decided to venture back into bread making for an afternoon. I enjoy baking bread, and while I still find it occasionally challenging, I sure do love the outcome when it works. The trick for me is getting the bread to rise, and this is typically a temperature issue. I find that putting a warm heating pad on top of the bowl of rising bread helps.
The recipe that I have included below is an Eastern European bread that has many, many varieties. Everyone from an Eastern European country will likely argue that their grandmother’s version is “correct,” but so far as I can tell, the “right” varieties are endless.
Consistent among all recipes is that the bread is rolled out very thin. Because pie crusts still frustrate me, this initially worried me because the instructions are to roll the dough out so thin that you can read through it! However, I was pleasantly surprised to find this particular dough easy to work with.
The next part is selecting your filling. A very popular filling choice is poppy seeds. 3 cups of poppy seeds to be specific. WHAT? 3 CUPS of POPPY SEEDS? My poppy seeds are sold in 1.25 oz jars, so that’s like…I don’t know, a LOT of jars. Plus, I’m pretty sure that quantity of poppy seeds would certainly make me fail a drug test. Not that I’m taking any drug tests, but I think you know what I’m talking about.

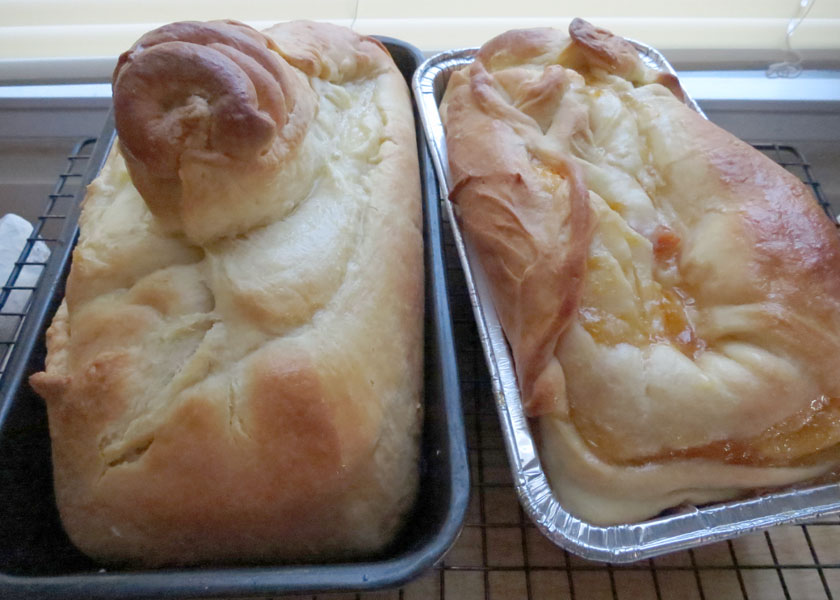
With further research, I discovered that walnuts (often with honey) are the most traditional filling for povitica. Other favorite options are cocoa, jam, raisins, honey, pecans, and cinnamon. Because I had both orange marmalade and apricot preserves in my fridge waiting for some special use, I chose to make one loaf of each. As you can see in my photos, the result is a swirled filling between very thin layers of bread. If you use a darker filling, the swirls will be even prominent.
My coworker deemed this my best baking project yet. Granted, she says that about 2-3 times per year, so take that for what it’s worth. I will add to that, however, that 6 coworkers ate 2 loaves of bread in under 4 hours. Yes, that is a testament to gluttony. Nevertheless, I think you will really enjoy this bread – it’s easier to make than it sounds, there are infinite flavors as you imagine new fillings, and it’s just delicious! The recipe below makes 2 loaves, so try 2 flavors!
Povitica

To Activate the Yeast:
1 t sugar
½ t bread flour or all-purpose flour
¼ c warm water
1 T Dry Yeast
Dough:
1 c milk + ½ c for brushing on top
6 T sugar + 2 T sugar for brushing on top
1 ½ t salt
2 large eggs, lightly beaten
¼ c unsalted butter, melted and cooled
4 c bread flour or all-purpose flour, measure first then sift, divided
filling:
jam/preserves of your choice
To Activate Yeast:
- In a small bowl, stir 1 teaspoon sugar, ½ teaspoon bread flour, and 1 tablespoon yeast into ¼ cup warm water and cover with plastic wrap. Allow to stand for 5 minutes
To Make the Dough:
- In a medium saucepan, heat the milk up to just below boiling, stirring constantly so that a film does not form on the top of the milk. Allow to cool slightly.
- In a large bowl, mix the scalded milk, sugar, and the salt until combined.
- Add the beaten eggs, yeast mixture, melted & slightly cooled butter, and 1 cup of bread flour. Blend thoroughly and slowly add remaining flour, mixing well until the dough starts to clean the bowl.
- Turn dough out onto a floured surface and knead, gradually adding flour a little at a time, until smooth and does not stick. (Note: You may or may not use all 4 cups of flour.)
- Divide the dough into 2 equal pieces. Place dough in 2 lightly oiled bowls, cover loosely with a layer of plastic wrap and then a kitchen towel and let rise an hour and a half in a warm place, until doubled in size.
To Roll and Assemble the Dough:
- Sprinkle with a couple of tablespoons to a handful of flour on your work surface. Place the dough on the counter and roll the dough out with a rolling pin, starting in the middle and working your way out until it measures roughly 10-12 inches in diameter.
- Brush 1 to 1 ½ teaspoons of melted butter on top.
- Continue to roll out the dough until it is paper thin and uniformly opaque. You can also use your hands to stretch it, if you prefer. As you work, continually check the dough to make sure that it isn’t sticking. The dough is thin enough when you can read through it.
- Spoon your chosen filling evenly over dough until covered.
- Lift the long edge of the dough and gently roll like a jelly roll.
- Once the dough is rolled up into a rope, gently lift it up and place it into a greased loaf pan in the shape of a “U”, and then tuck the remaining dough into the middle to make a third segment. (If you forget to tuck it in, it will look like mine with a big bulb poking out of the top.)
- Repeat with remaining loaf, coiling each rope of dough in its own loaf pan.
- Brush the top of each loaf with a mixture of ¼ cup of cold milk and 1 tablespoon of sugar. (If you prefer, you can also use egg whites in place of this.)
- Cover pans lightly will plastic wrap and allow to rest for approximately 15 minutes.
- Preheat oven to 350°F.
- Remove plastic wrap from dough and place into the preheated oven and bake for 15 minutes. Then, turn down the oven temperature to 300°F and bake for an additional 45 minutes, or until done. Check the bread at 30 minutes to ensure that it is not getting too brown. You may cover the loaves with a sheet of aluminum foil if you need to.
- Remove bread from oven and brush with melted butter.
- Allow to cool on a wire rack for 30 minutes, still in the bread pan. Remove from bread pan and continue to cool for another 90 minutes.
- ENJOY!


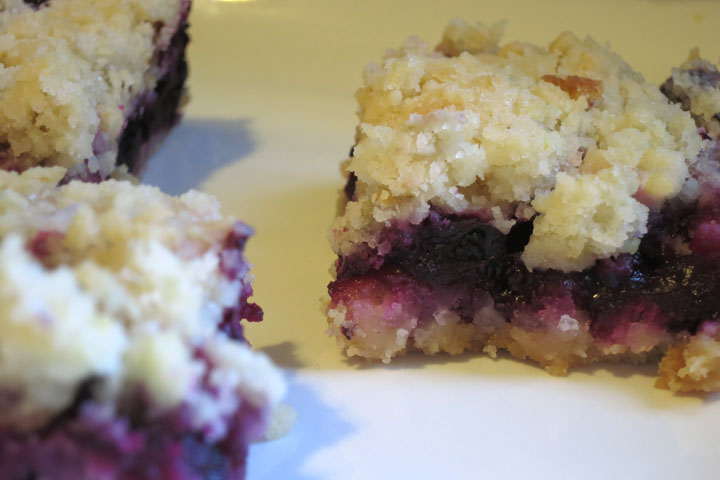

 Berry season is upon us! I recently purchased a bunch of blackberries and have since been trying different recipes with them (some better than others). The one which “took the cake” – haha – was the Blackberry Chocolate Cheesecake.
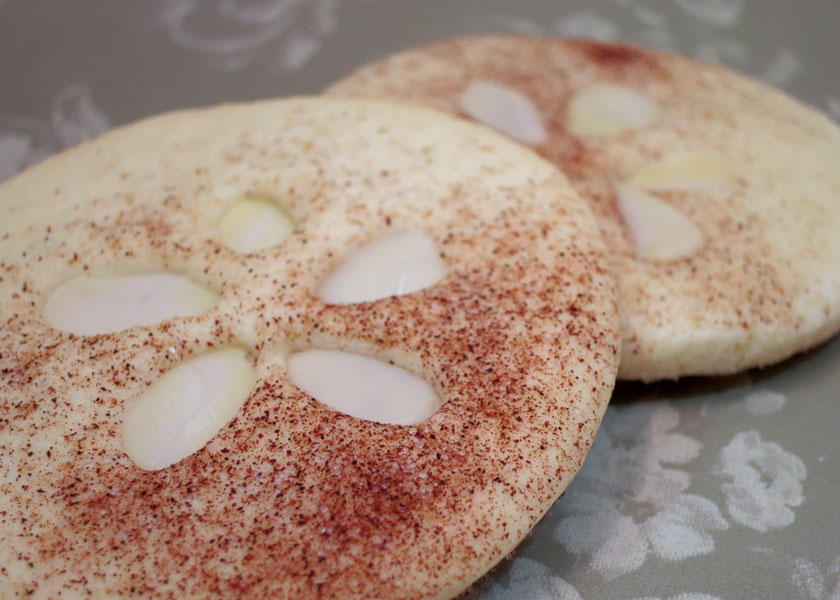
 Last weekend I was preparing a very special care package for a good friend in a far-away land. My friend claims not to need anything, but baked goods are always appreciated and it gives me a way to bake a batch of cookies and only eat a few myself before packing the rest up and sending the calories to someone else.


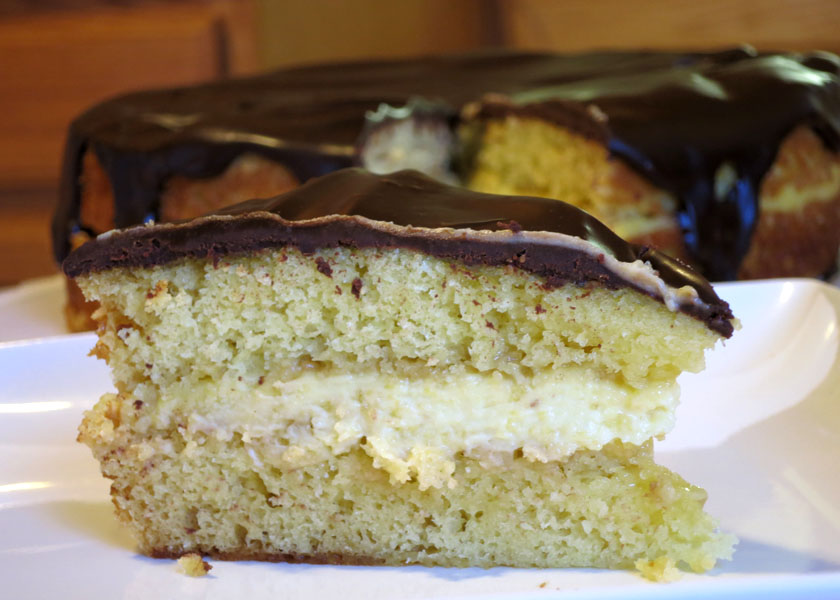
 Last week my office underwent a big change when one of my coworkers retired. She was one of the more senior level people in the office and had always been my go-to human encyclopedia when I needed help on a project. To send her off well, a big party was thrown and many people came to express their gratitude for her help over the years.